Drawing a parrot can be simple and fun when you break it down into easy steps. How to draw a parrot? Let’s try this step by step tutorial. In this tutorial, you will learn how to draw a beautiful parrot sitting on a branch using number-5 with basic shapes and smooth lines. This guide is perfect for beginners, kids, and art lovers who want to improve their drawing skills.
Materials Needed
Pencil ✏️
Eraser
Black pen or marker
Drawing paper
Color pencils or watercolor (optional)
👉How to Draw a Parrot : Step by step drawing tutorial
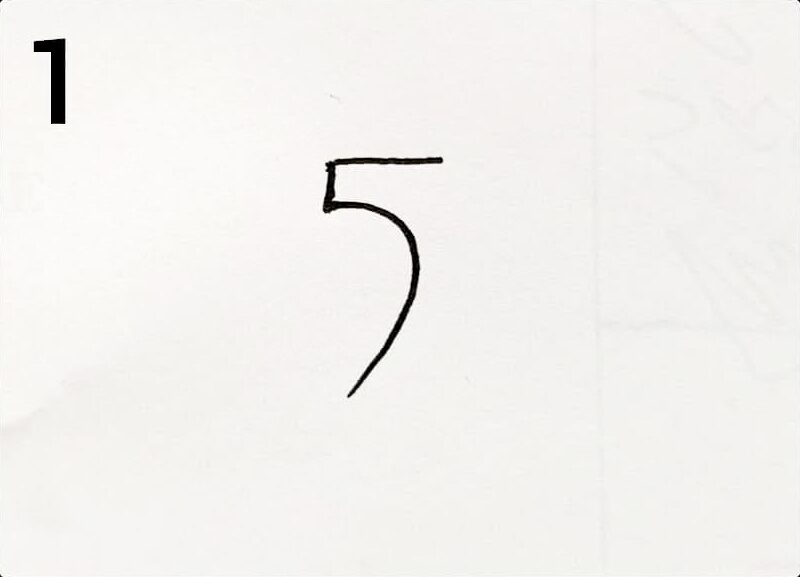
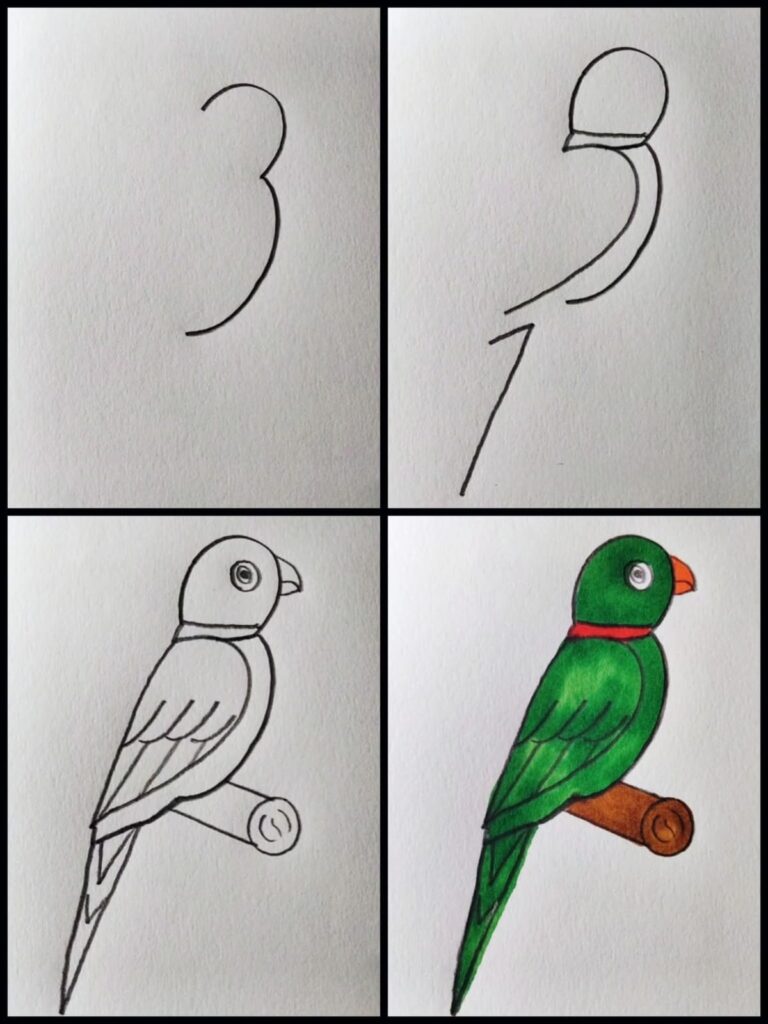
Step 1: Draw the Number 5 Shape
Start by drawing a simple number 5 shape on your paper.
This shape will act as the base structure of the parrot’s body and neck.
Tip: Keep the lines light so you can adjust them later.
Step by step parrot drawing tutorial for beginners
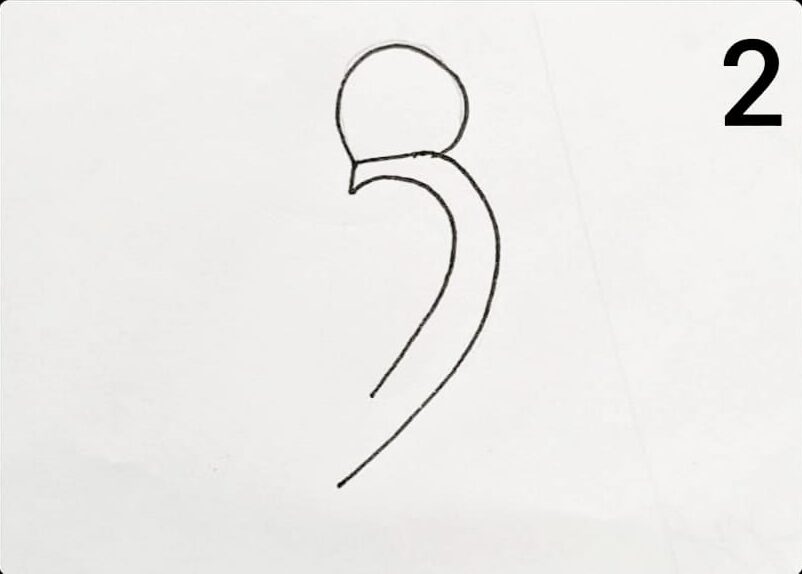
Step 2: Add the Head
Draw a small circle at the top of the number 5 shape to create the head.
Then connect the head smoothly with the curved body line to form the neck.
This step gives the basic outline of the parrot.
Step by step parrot drawing tutorial for beginners
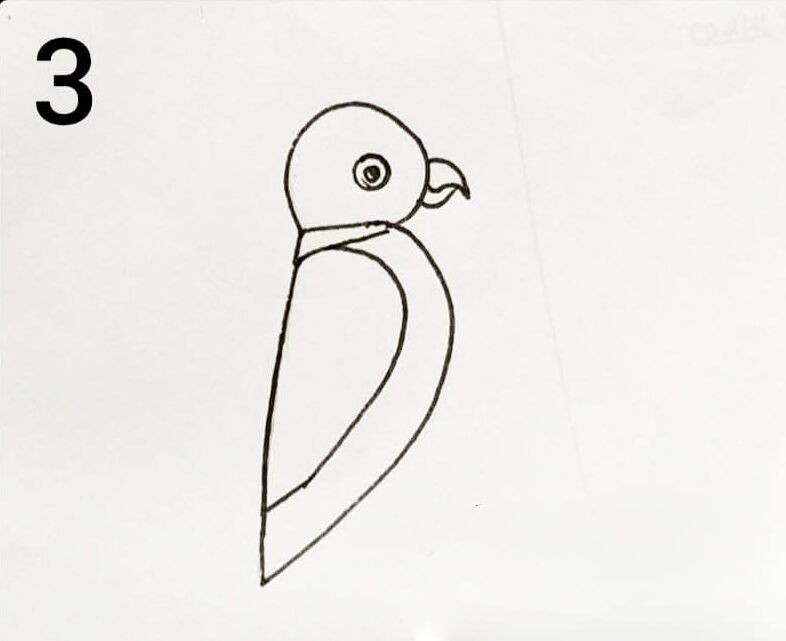
Step 3: Draw the Beak and Eye
Now draw:
A small curved beak in front of the head
A round eye inside the head
A curved line to define the chest
The parrot’s face starts becoming visible at this stage.
Step by step parrot drawing tutorial for beginners
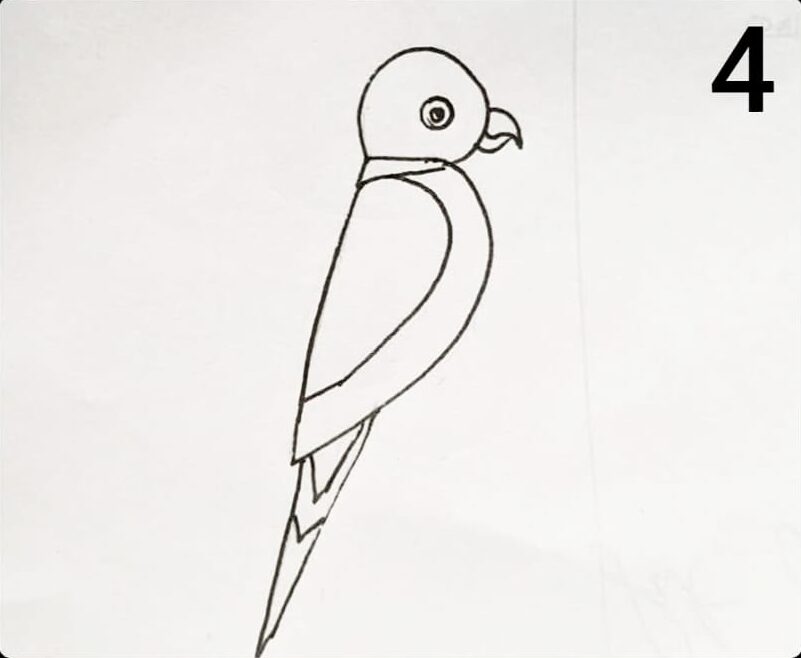
Step 4: Create the Wing and Tail
Draw a long curved wing along the body.
Then add a pointed tail at the bottom.
Make sure the wing follows the natural curve of the body.
Step by step parrot drawing tutorial for beginners
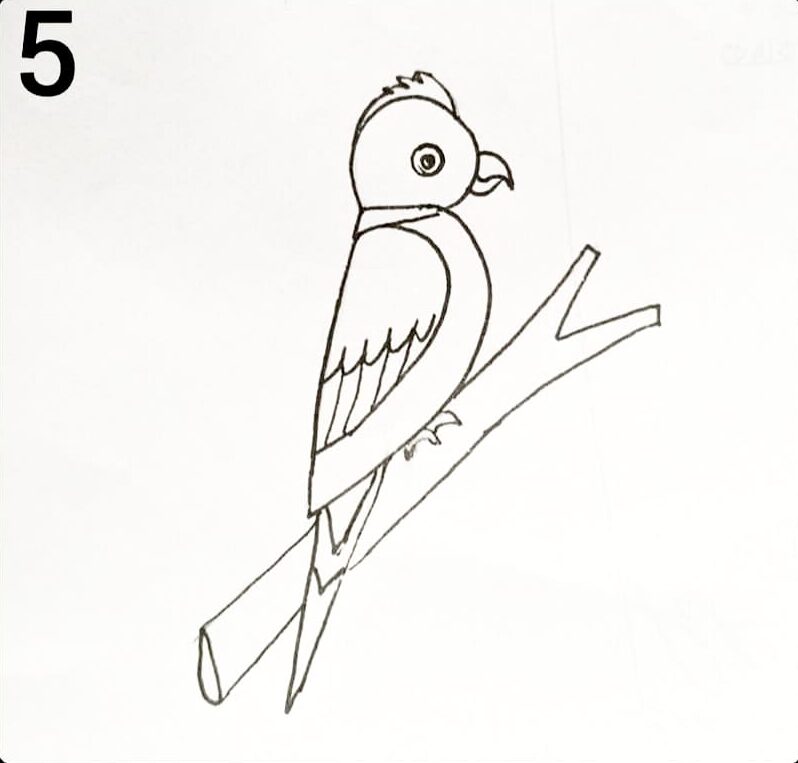
Step 5: Add Details and Branch
Now enhance the drawing by adding:
Feather details on the wing
Small crest feathers on the head
Legs and claws
A tree branch for the parrot to sit on
This step completes the outline of the parrot.
Step by step parrot drawing tutorial for beginners
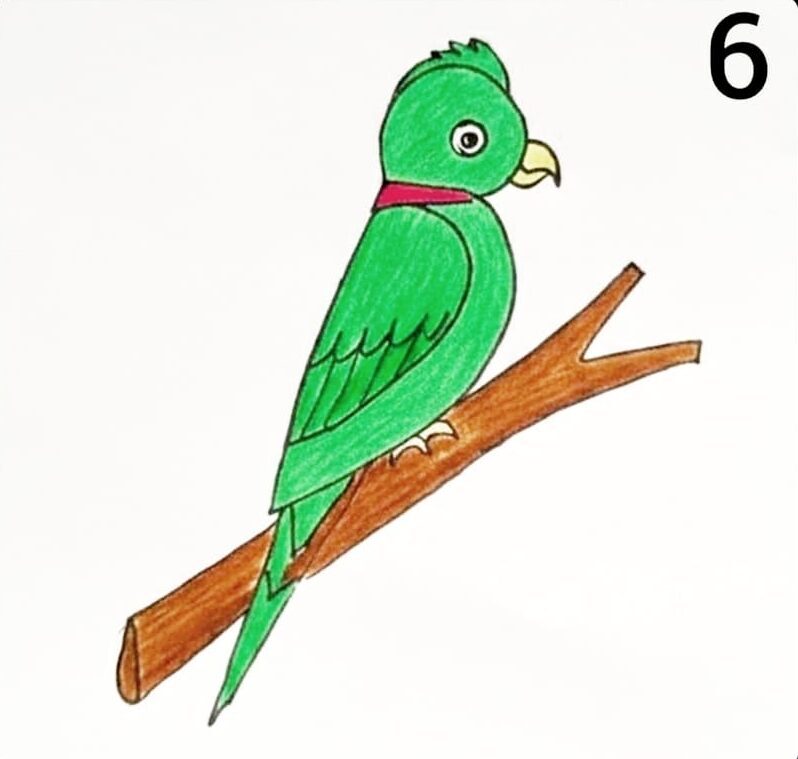
Step 6: Color the Parrot
Color the drawing to make it attractive:
Green body
Yellow beak
Red neck ring
Brown branch
Dark green wing details
Use colored pencils or crayons for a clean and smooth finish.
How to Draw a Parrot
Final Result
You now have a beautiful parrot drawing sitting on a tree branch. 🦜🌿 This easy step-by-step method helps beginners learn how to draw a parrot quickly and confidently.
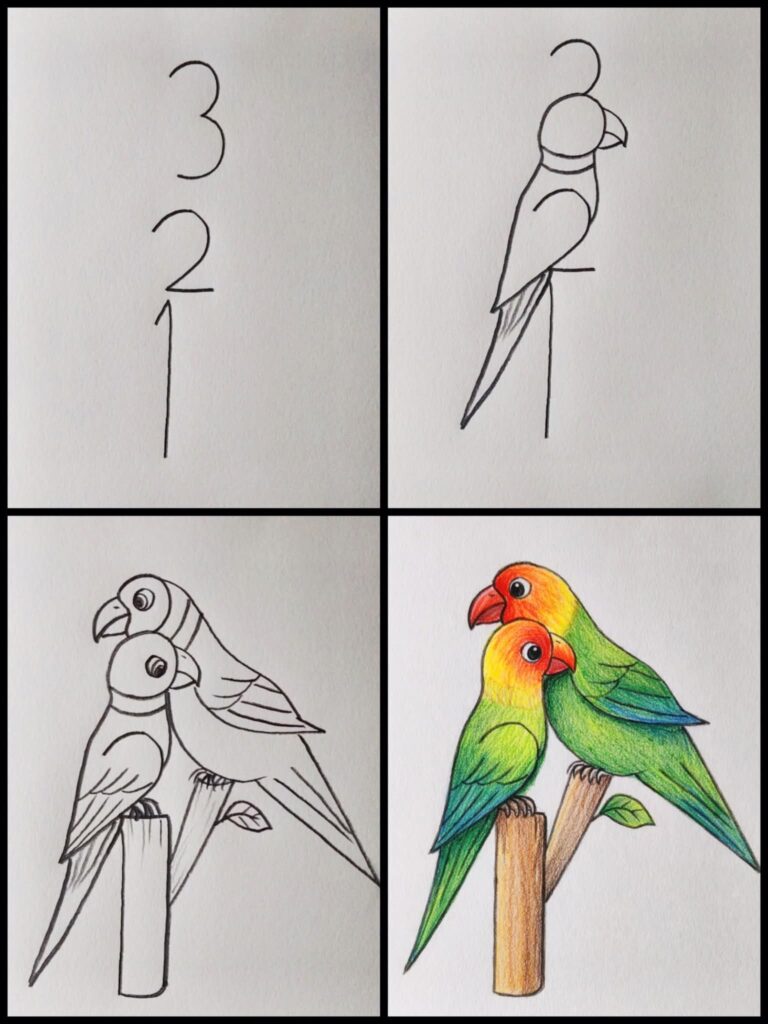
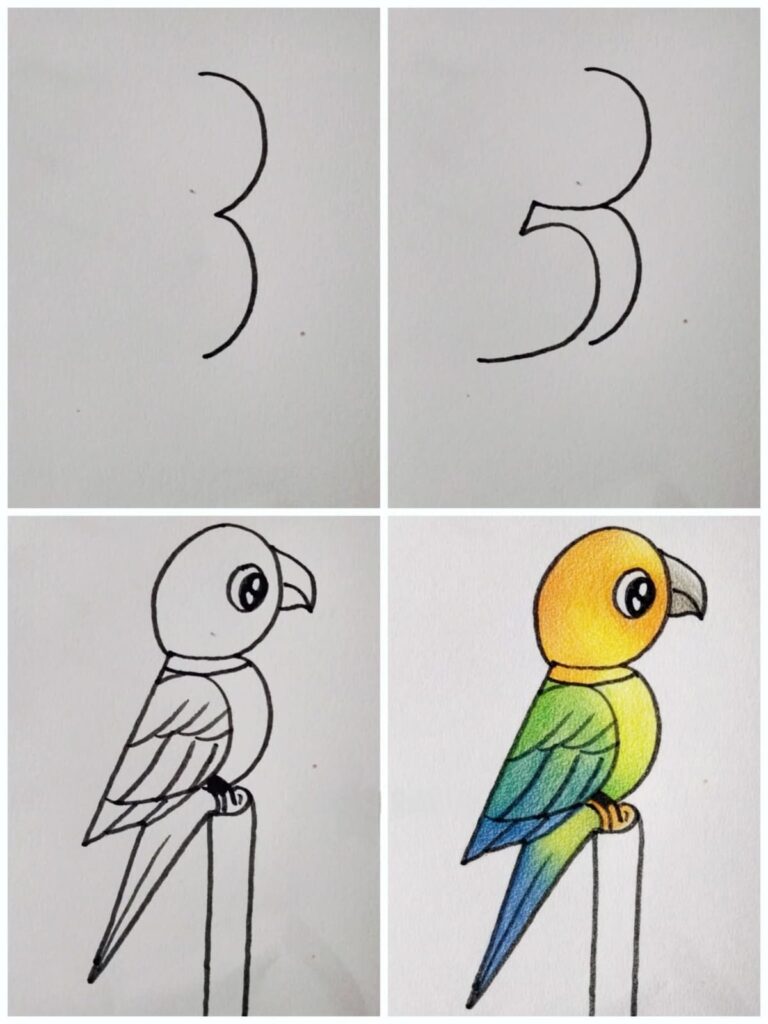
Check out more step by step easy drawing ideas of Parrot👇
Step by Step Parrot drawing -01
Step by Step Parrot Drawing -02
Step by Step Parrot Drawing -03
Step by Step Parrot Drawing -04
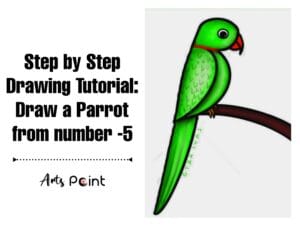
Step by Step Parrot Drawing -05
▶️ Join the Community ! Enjoyed these step by step tutorial?
Now that you have learned how to draw a parrot step by step, it’s time to pick up your pencil and try it yourself. Practice this drawing a few times and experiment with different colors, branches, and backgrounds to make your parrot unique. You can even create a full bird drawing collection in your sketchbook. If you enjoyed this tutorial, share it with your friends and let them try this easy parrot drawing too.
Don’t forget to bookmark Arts Point and visit again for more simple and creative step-by-step drawing tutorials designed especially for beginners. 🖌️
🎯 Share Your Artwork with Us
Did you try this parrot drawing? We would love to see your artwork! 💬 Comment below and share your experience with this tutorial. 📤 Share this post with your friends and help them learn drawing. 🖼️ Submit your drawing to Arts Point and get featured on our website.
Keep practicing, keep creating, and stay connected with Arts Point for more easy step-by-step drawing tutorials for beginners. ✨
Arts Point is a blog to showcase and learn arts and creation around the world. We publish articles about step by step easy drawing tutorials. We also showcase watercolor paintings, oil paintings, acrylic paintings, realistic and hyper realistic pencil drawings, crafts, sculptures, graffiti and digital arts etc.